to button

i like to sew buttons.

i’m a bit quirky like that.

most people i know do not like to sew buttons.

even fellow designers often see it as a necessary evil,

but i love the math of it. the measuring and making sure they are all the same,

makes me feel very satisfied.

so i thought i’d post some pics of how i do it

in hopes of helping someone else

learn to love adding buttons

as much as

i do.

above are the things i use to put buttons on:

thread (i like to match it to the buttons, but contrast thread can be very cool, too),

scissors, needle (small enough to fit through the button’s holes), and clip on markers.

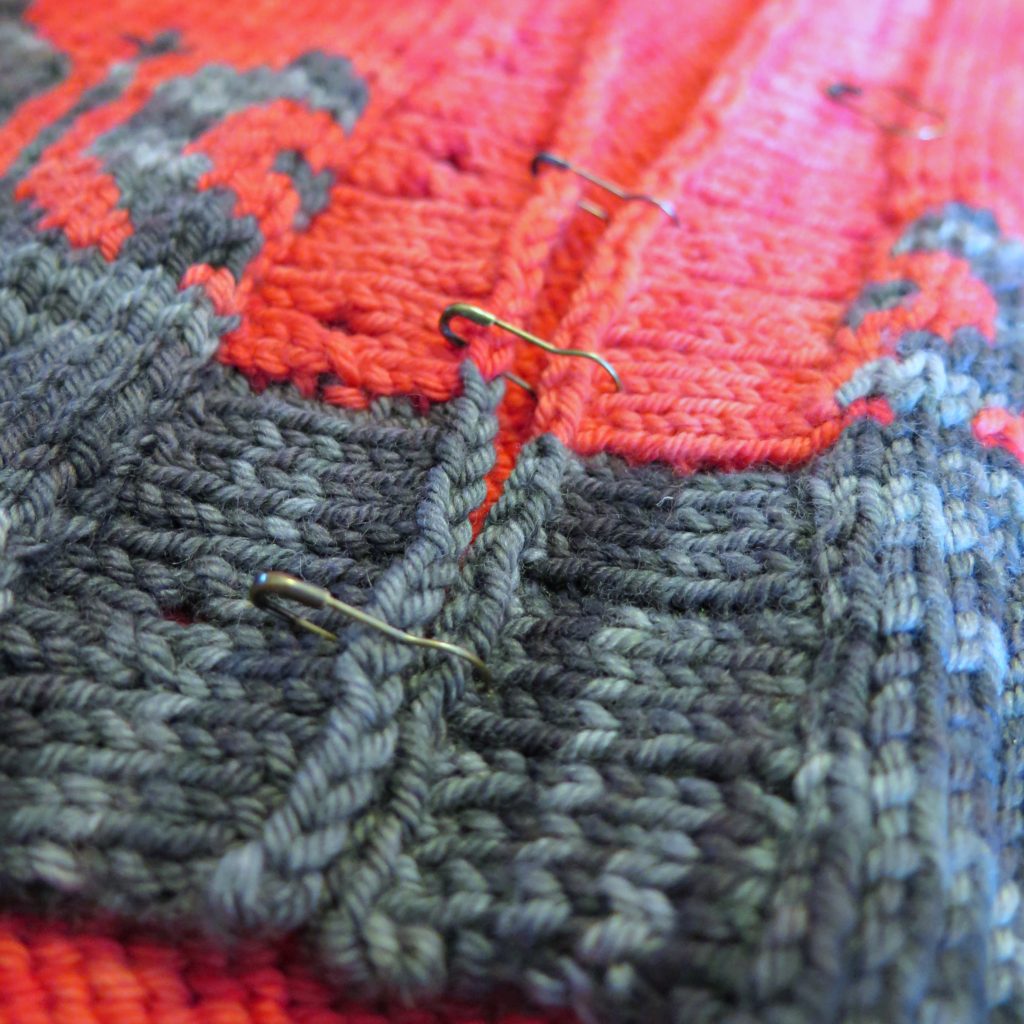
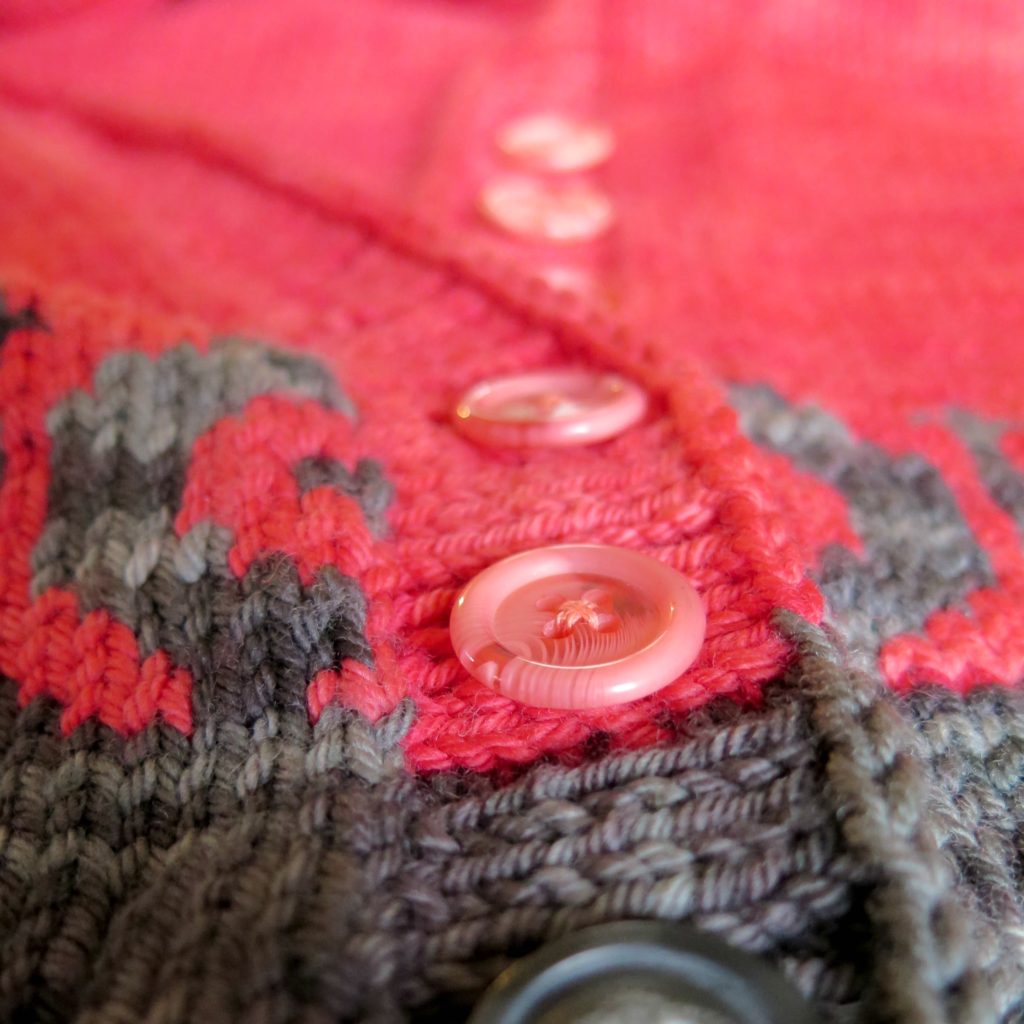
the very first step is above.

line up the buttonhole edge with the opposite edge where the buttons will belong.

i like to clip a marker connecting the the two edges

at each spot where a button hole is,

because that’s where the

corresponding button

will be sewn.

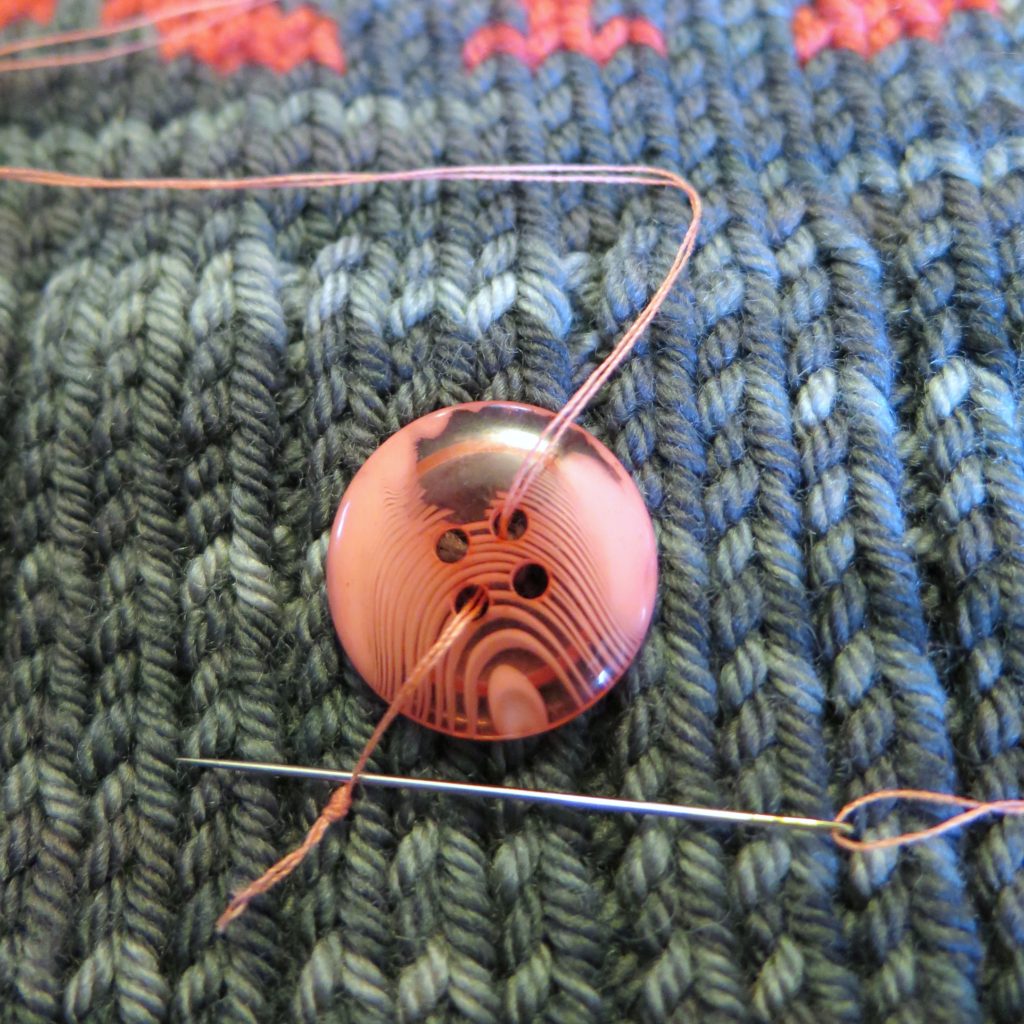
to start off strong, i like to double the thread when sewing on buttons.

i pull the thread until the needle is in the middle of it and then knot the ends together.

when attaching the button,

i push the needle up through one hole of the button,

down through a 2nd hole in the button (diagonally across from the first)

and then slide the needle between

the two ends of the thread just above the knot.

once you pull the thread snug, this ‘locks’ the button onto the end of the thread.

when sewing a 4 hole button on,

i pick the 4 knit sts (all next to each other in a square shape) that i will sew the button onto.

i slide the thread down through one st,

up through 1 of the button’s holes, and then

up through the st diagonally across from the one i went down.

i repeat this 3 or 4  times, then do the same for the button’s other 2 holes

and the 2 remaining sts in my imagined square.

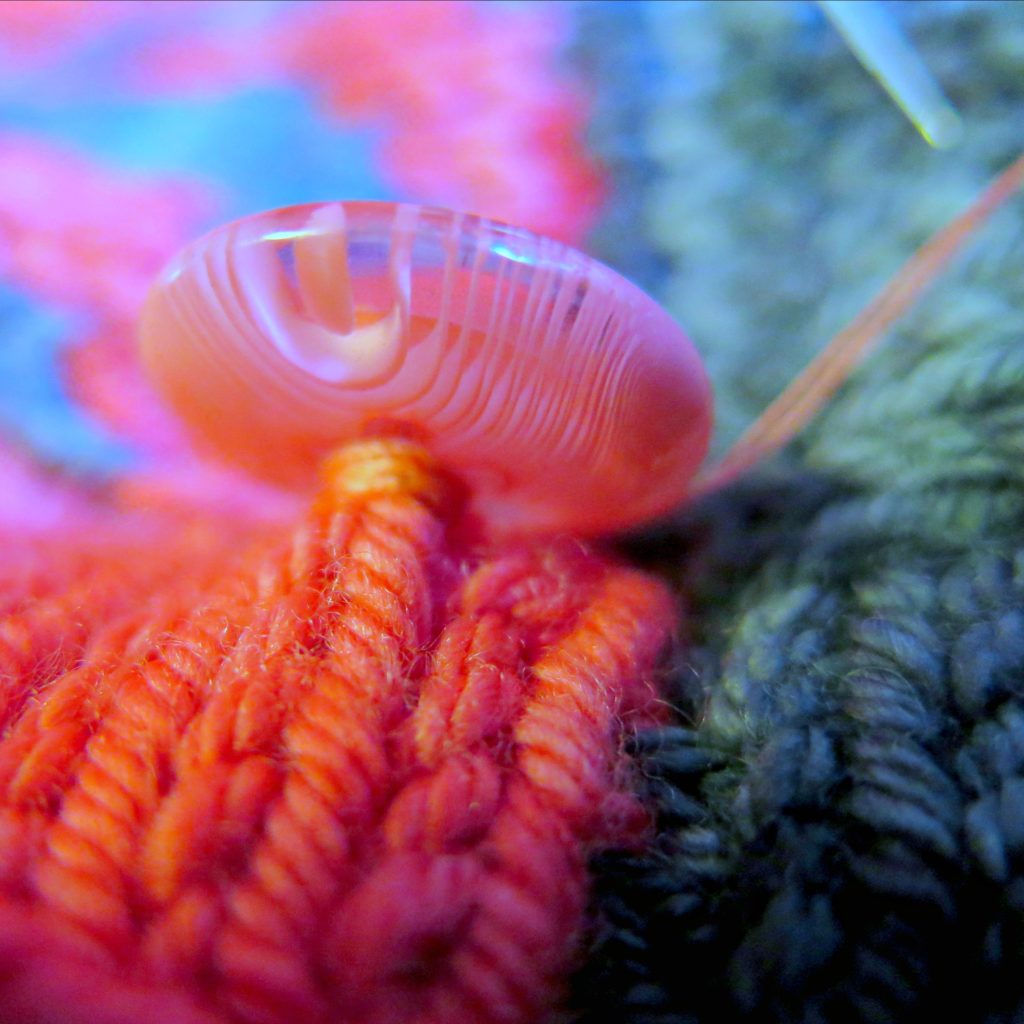
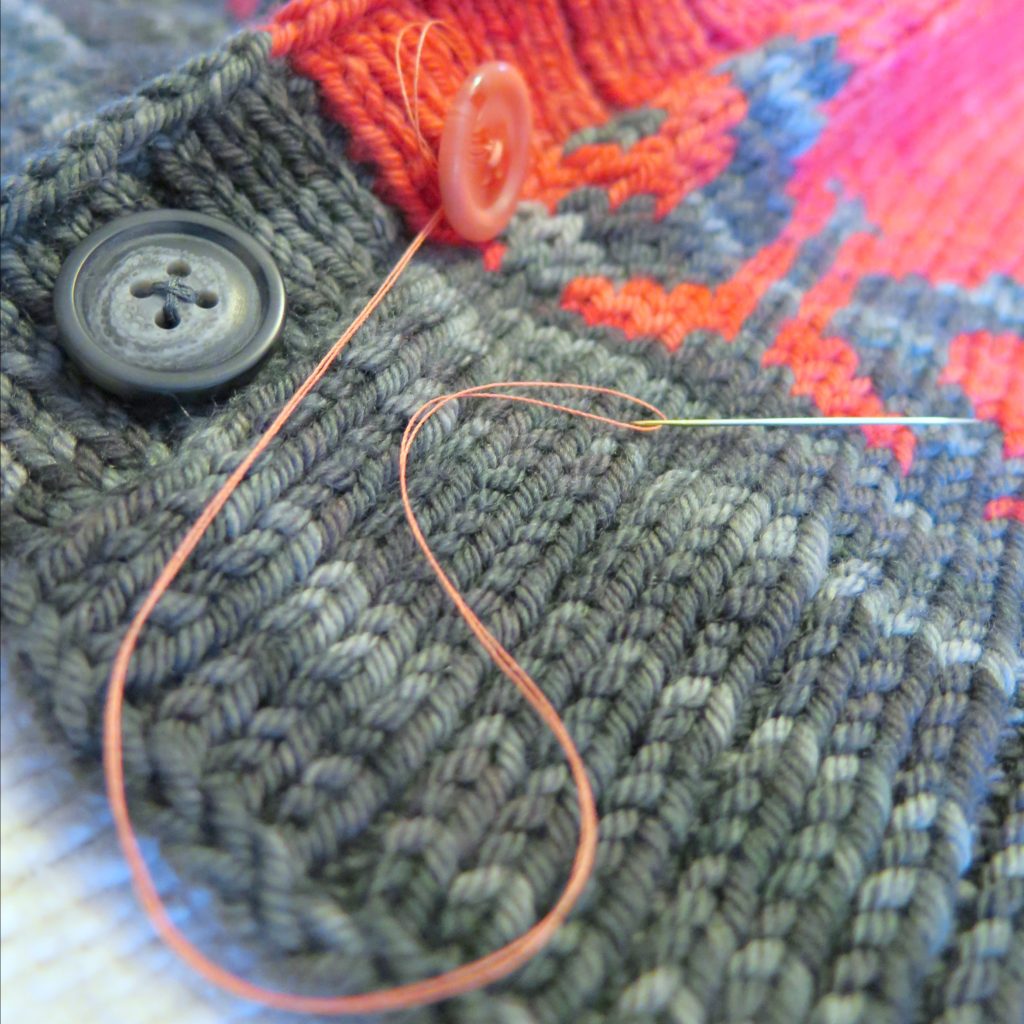
next is my button sewing ‘trick’. ready?

once the button is secure, i wrap the thread on my needle around the sewn sts

between the bottom of the button and the front of the knitting.

this creates a little ‘shank’ (see pic above)

that allows space for the height of the knitting around the buttonhole to sit

without pulling and distorting the knitting that the button is sewn to. see?

now just repeat the directions for each button and

you’re ready for cooler fall air

and to start wearing your cardi all buttoned up. yeah!

 ‘secure’ taken from 11:18 of job.

Save

Save

Save

how to start the ‘depth’ cowl

for those of you working on the ‘depth’ cowl

either on your own or as part of the #talkal going on in my rav group,

using either sprout worsted or sprout dk from ‘the fiber seed‘,

here’s a step by step photo tutorial to get you off on the right foot.

note: below each photo is the pattern text that it is illustrating.

“After winding your first skein into a ball or cake, start at the beginning of the yarn

and follow it along until you reach the first solid color section.

(the needle tips in the pic above

are pointing at ‘the first solid color section, see?)

*******

“Find the middle of that solid color section.”

(the needle tip at the right points to the center of the solid green section of yarn.)

*******

“Starting at that point of the yarn, and using the size needles

that you got gauge on, use backward loop cast-on to CO…”

(these are my first sts i cast on using backward loop and working towards the yarn cake.)

*******

“You will be casting on through the second half of a solid color section,

a full speckled section, a full solid color section, a full speckled section,

and the first half of a solid color section.

You should end near the middle of a solid color section.

Join to knit in the round and do not add a place marker.  “

(the extra yarn before my cast on is now wrapped into a little butterfly bundle

so that i don’t get mixed up and try to knit with the tail.)

*******

“…begin knitting in St st.

When you get to the middle of the first solid color of sts,

place a marker.”

(i’ve just placed my first marker in this pic,

about halfway through the solid green sts of the first full solid section.)

*******

“Continue working in St st until you get to the middle

of the second solid color section of sts, place the beginning of the rnd marker.

This second marker will now be the beginning of all your rounds.”

(i am now back to close to where i started casting on.

it doesn’t have to be exactly where you started.

getting to about the middle of the solid color sts to place the marker is more key.)

i think that’s it.

now you have pictures

of the cast on and the next round where the markers are placed.

enjoy! being the boss of the pooling comes next.

ready?

‘started’ taken from 18:45 of first kings.

Save

Save

Save

overload to pom pom

right from the start,

i could not calm my head.

plans for the day changed when

my youngest woke up with pink eye

(highly contagious and dreaded by mamas everywhere).

gears changed quickly

from packing things to play with neighborhood friends,

to listing things that would hold our interest inside as we washed our hands

and remembered almost every time not to touch our eyes.

through it all my mind raced,

bounding from disinfectant to diversions,

from legos to new ways to knit new things (yes, my head truly works like this).

despite the clutter of new ideas,

i could nail nothing down

and the constant swirling begged the beginnings of a headache.IMG_2550sq
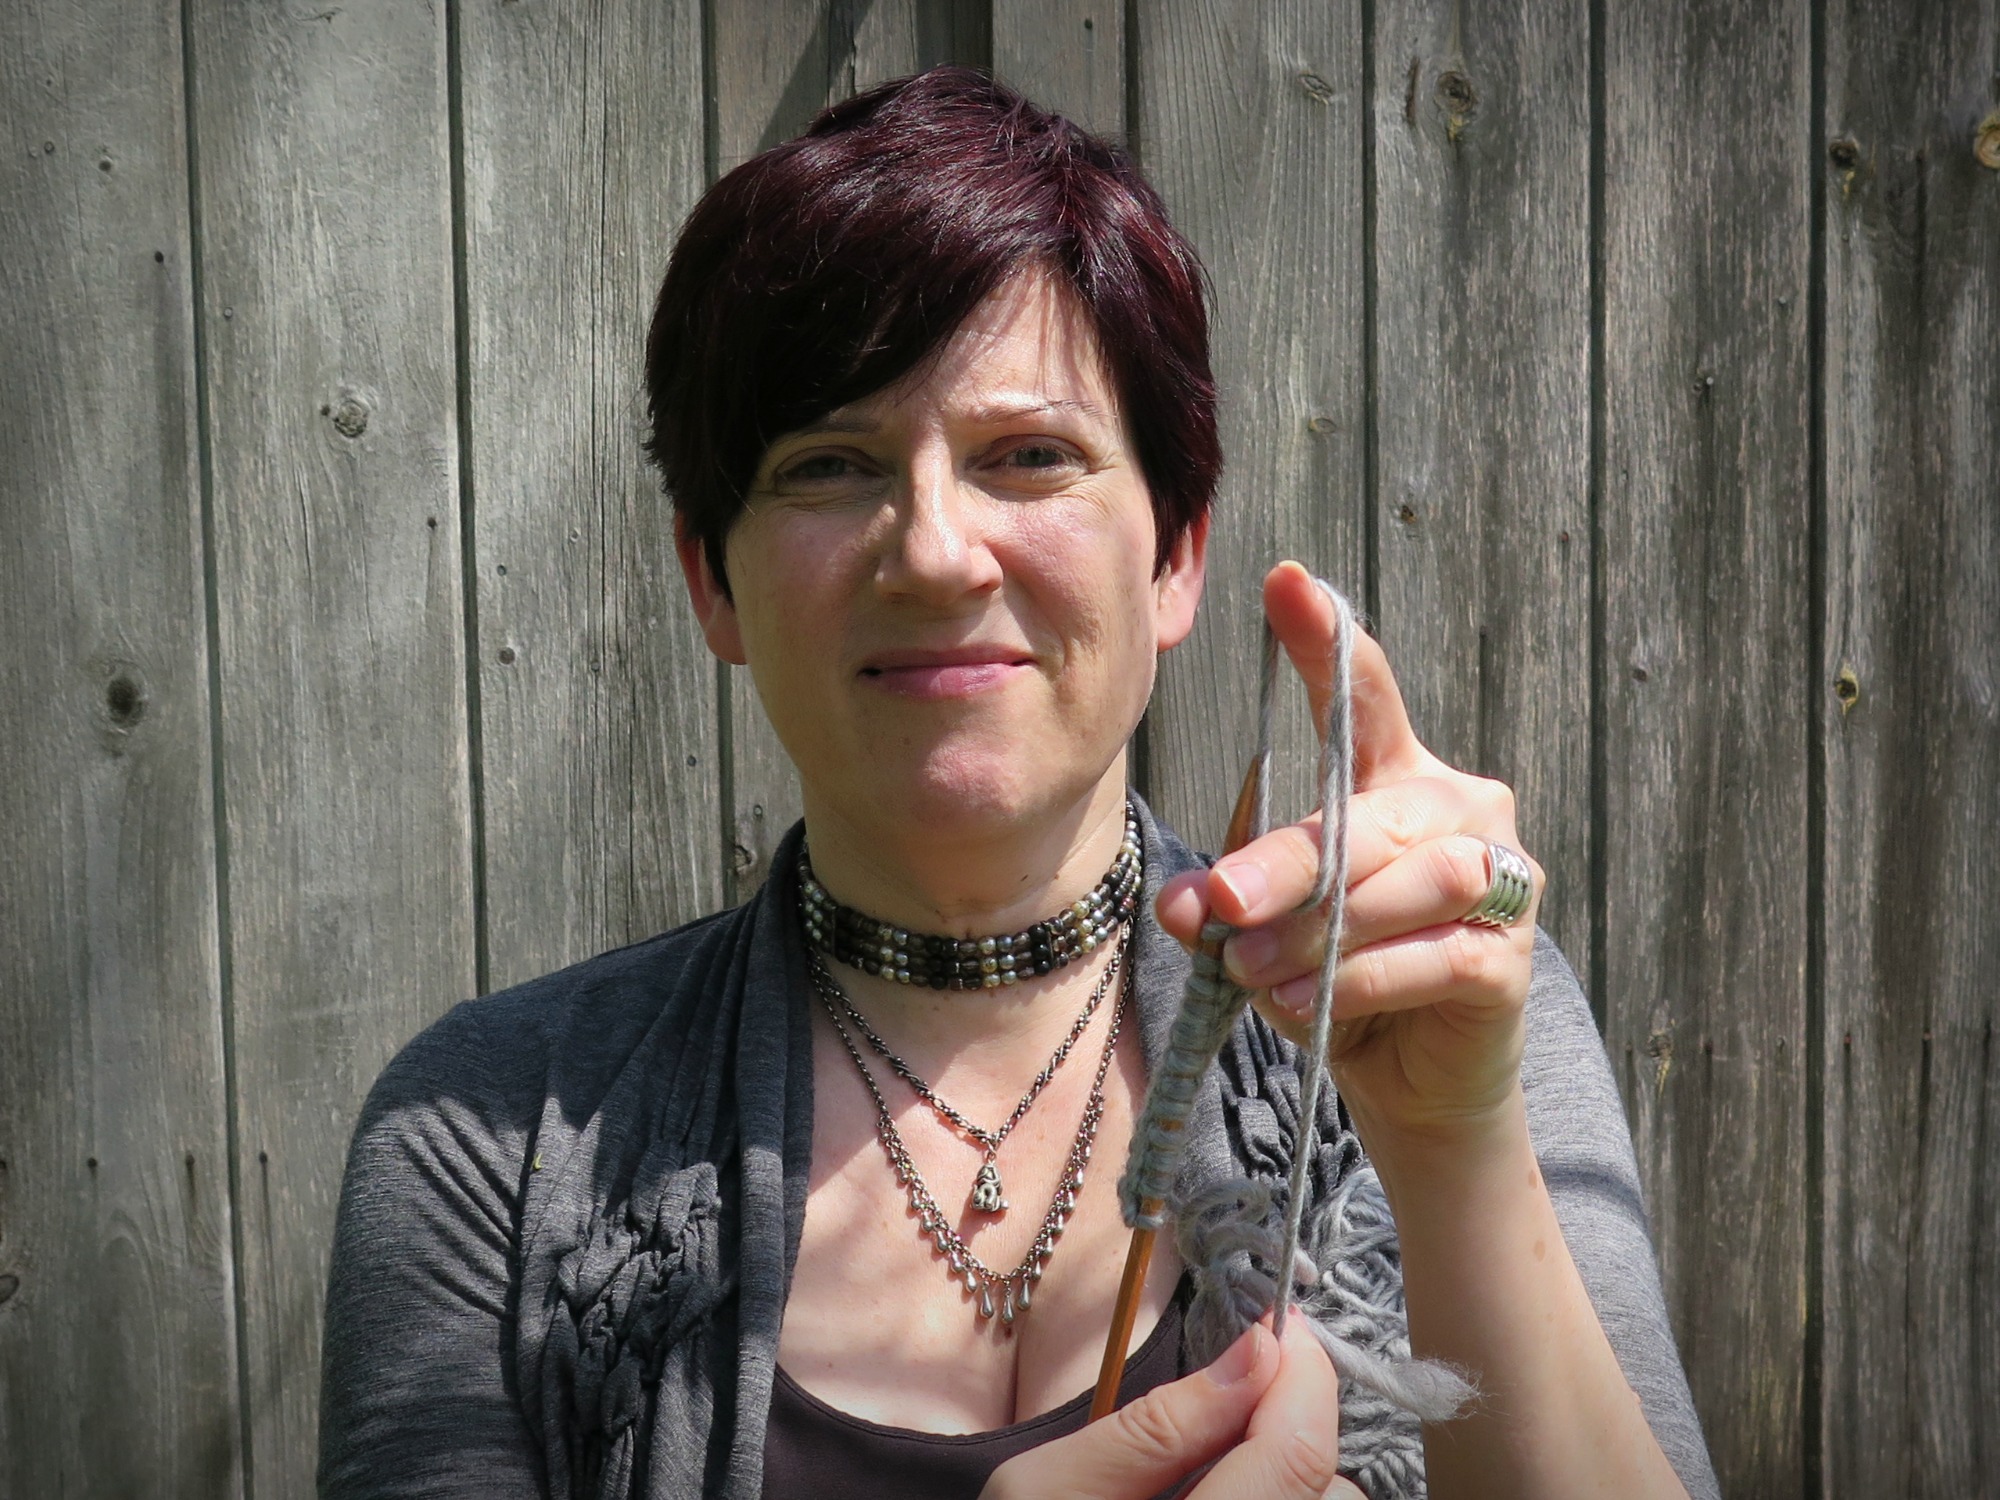
a walk outside was needed, so i took one.

my head began to ease up on the chaos

and settled back into the wonderment of the way that

the world was built to work.IMG_2650sq

 for me today, the reality of this little lichen

(about the size of a quarter from side to side),

rang true.

it’s small and often in harm’s way

(it is, after all, attached to a much traveled piece of pavement),

but when i focus on the small space it inhabits

i can see its beauty

in all the tiny details of what it is. and what it’s not feels really unimportant.

the blur around it (which i captured by accident with no filter or editing)

doesn’t lessen the rightness of right where it is,

just being itself.

period.

once i was able to come back inside with some perspective,

my 10 yr old and i made this pom pom through teamworkIMG_2661sq(ok, and a knitpicks tutorial on the use of the clover pom pom maker).

a bit later, i enjoyed my rough attempts

at everything from ‘amazing grace’, to ‘the boxer’

on my new Christmas present.IMG_2658snow, my cleared head in tow,

i will take to my bed with a snack and a book

to recharge and refuel

for whatever tomorrow may bring.

go ahead and bring on the last day of 2016.

i’m as ready as i’m going to be.

‘space’ taken from 25:37 of exodus.

‘taming the tails’

i haven’t doneIMG_0525crop a video

since ‘the fiber factor ended’,

but on monday the 7th,

the tohutohu mystery kal,

in collaboration with

and sponsored by lys

‘string theory yarn company’,

begins and so i made this new video tutorial to go along with clue #1.

you don’t have to be part of the m-kal

to find this helpful.

you just have to be a person for whom

yarn tails are awkward or frustrating to deal with on your works in progress.

so here’s me, in the dappling late afternoon sun,

out by the old chicken coop (that held squawking chickens when i was growing up).

it’s not a perfect video. it’s not meant to be,

just a warm weather afternoon conversation between two knitters

(aka: me and you).

hope that you find it helpful or it makes you smile, or both.